

Step 1
Air Management
Choose the valves and controls that raise, lower and level your suspension.
Shop Air Management Kits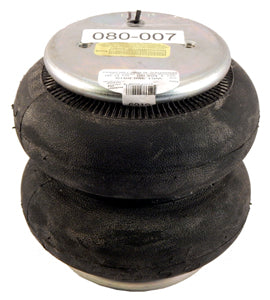
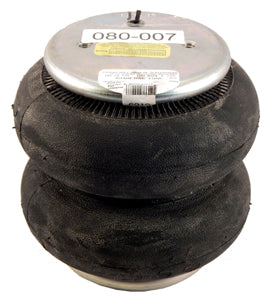
| Maximum Diameter @ 100 PSIG (inches) | 9.9 |
| Maximum Height (inches) | 9.1 |
| Maximum Stroke (inches) | 6 |
| Minimum Usable Height (inches) | 3.1 |
| Force @ 80PSI at Stroke of 1 Inch (pounds) | 3790 |
| Force @ 80PSI at Stroke of 3 Inch (pounds) | 3180 |
| Force @ 80PSI at Stroke of Maximum Stroke (pounds) | 1770 |
| Style Cross-Ref Equivalent High Strength Style Number | 202 |
| Style Cross-Ref Extended Height (Similar End Closure) Style Number | 202 |
| Material | 2-Ply Standard Cord |
| END CLOSURE DETAILS | |
| Bead plate Type | 3 |
| Blind Nut Centers (inches) | 3.5 |
| Port Offset from Blind Nut Centerline (inches) | 1.75 |
| AIRMOUNT ISOLATOR | |
| Design Height | 8.5 |
26C
Build the complete system
Most air-suspension builds need more than one component. Use these categories to complete the system, then contact us if you want help matching parts.
Step 1
Choose the valves and controls that raise, lower and level your suspension.
Shop Air Management Kits
Step 2
Match bag size, travel, port size and available chassis clearance.
Shop Air Bags & Bag Mounts
Step 3
Build dependable air supply around the tank size and pressure your system needs.
Shop Viair Compressors
Step 4
Select tank capacity and port layout for the space available in your build.
Shop Air Tanks
Step 5
Finish the plumbing with the correct thread and air-line sizes.
Shop Fittings
Step 6
Route the system with the line diameter required by your valves and fittings.
Shop Air Line